TigerJython4Kids
 robotics
Mechanics Loader
Deutsch   English   

13. MECHANIC LOADER WITH SERVOMOTOR


YOU LEARN HERE...


connect a mechanic loader to your mbRobot and control it with a servo motor. The loader can load and transport small objects.


ASSEMBLE LOADER


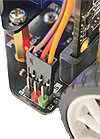
You can order the loader with a servo motor individually (Maqueen Mechanics Loader) or in a kit (Maqueen Mechanics Roboter-Kit). The servo motor is connected to port S1 or S2 of the Maqueen 4 or Maqueen Plus (black cable to GND).


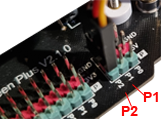
On the Maqueen Plus V2, the servomotor is connected to port P1 or P2. These are located at the rear right of the chassis. In your programme, you must call up the servo ports in the setServo() command with P1 or P2 (instead of S1 or S2).

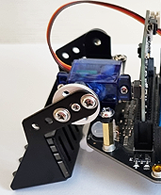
The loader is assembled according to the following instructions: Construction plan Loader


EXAMPLES


Example 1: Testing the functionality of the servomotor

The servomotor first moves the loader to the starting position (bottom), then the bucket is rotated upwards and returns to the starting position after 2000 milliseconds.

With the setServo("S1 ’, 160) command, the servomotor rotates to the position with a rotation angle of 160°. S1 is the connection port. Execute the programme below with different angles between 0 and 180° to find out for which value the blade is in the starting position (down).

 
from mbrobot_plus import *
#from mbrobot import*

setServo("S1", 160)
delay(2000)
setServo("S1", 100)
delay(2000)          
setServo("S1", 160)
Copy to clipboard


Example 2: Positioning the loader with an ultrasonic sensor

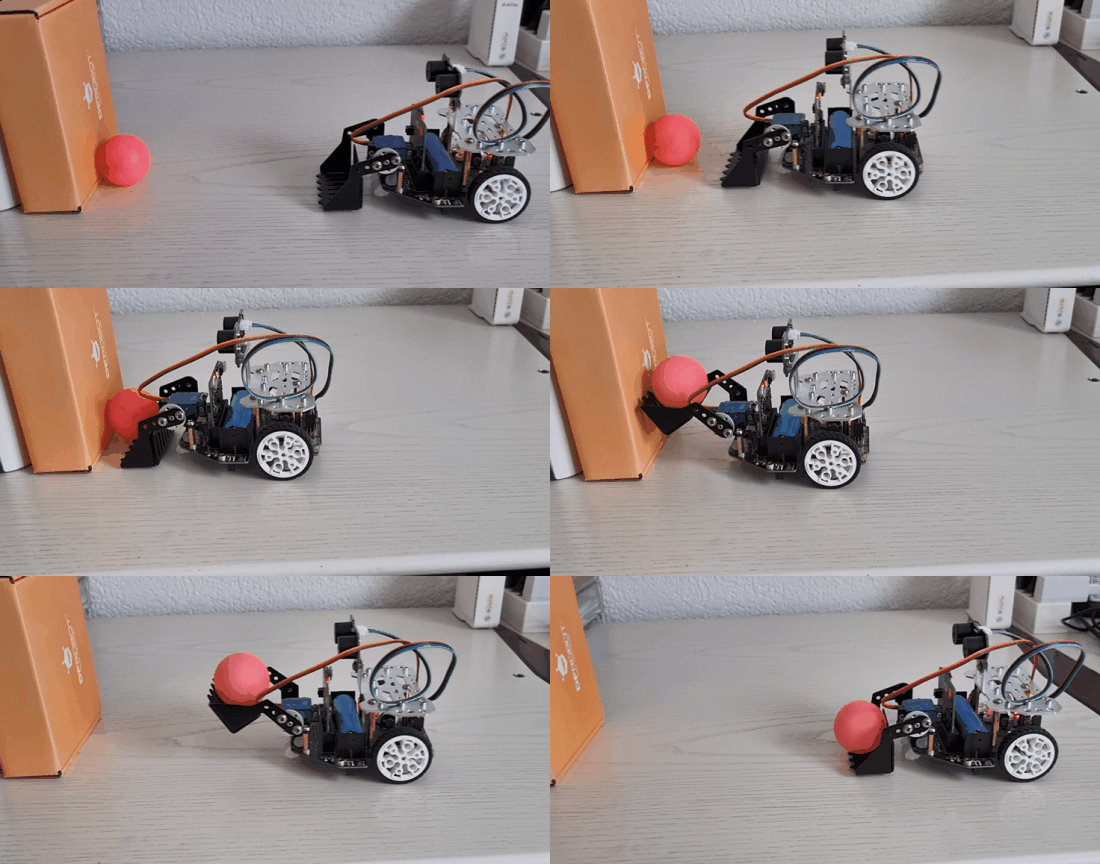
The robot should charge an object that is located near a vertical wall and transport it away (similar to the video above). To measure the distance to the wall, use the ultrasonic sensor

from mbrobot_plus import *
#from mbrobot import *

setServo("S1", 160)
setSpeed(20)
forward()
repeat:
    d = getDistance()
    print(d)
    if d < 12: 
        stop()
        delay(1000)
        setServo("S1", 100)
        setSpeed(20)        
        backward()       
        delay(4000)               
        stop()
        setServo("S1", 160)
    delay(100)   
Copy to clipboard

The distance to the wall is scanned in an ‘endless’ repeat loop every 100 milliseconds. If it is less than 12 cm, the object is charged.


REMEMBER...


The servomotor is moved to the desired position with the setServo(Port, Angle) command, whereby the first parameter is S1 or S2 and the angle can be selected in the range 0° to 180°.


TO SOLVE YOURSELF


1.


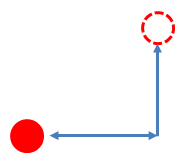
Robot with a loader moves forwards for 2000 milliseconds and picks up an object. It then moves backwards for 2000 milliseconds, turns approx. 90° to the left, moves forwards for 2000 milliseconds and puts the object down.


2.

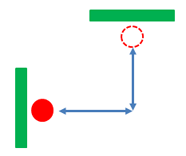
Supplement the situation from task 1 with two vertical walls so that the robot completes the forward movements with the help of the ultrasonic sensor and repeats the loading and unloading process several times.